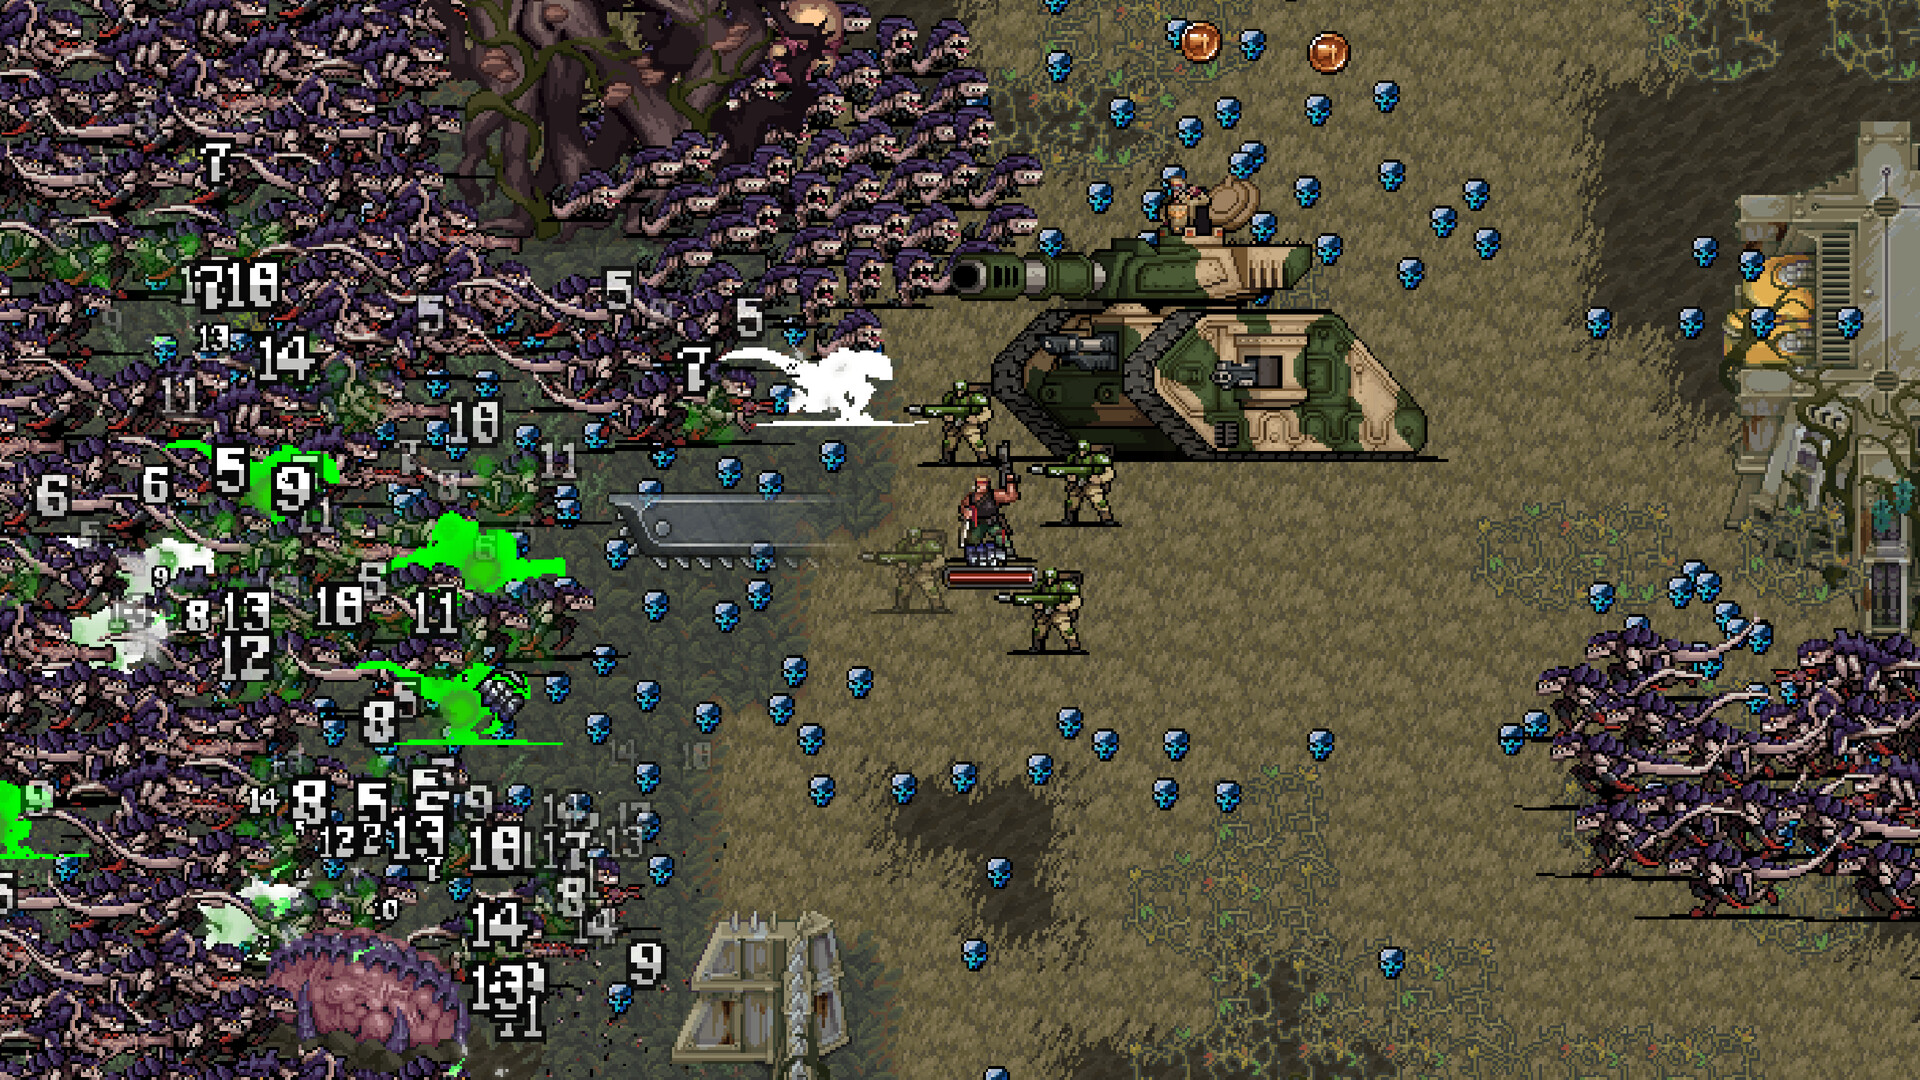
Prepare for the Norn Emissary at Imperial Bastion
In the October demo, the Norn Emissary arrives on Imperial Bastion at minute 25 and resists the status effects available from demo weapons. Prepare direct damage and room to kite rather than counting on status effects to stop it.
This is Imperial Bastion's demo endpoint. Use the preparation below for that encounter, and keep it separate from the full game's finale.
Why a status-focused build can struggle
The Norn Emissary's demo resistance covers the effects inflicted by demo weapons. Poisoned, Burning, Bleeding and crowd control should not be treated as guaranteed methods of stopping the boss. Build enough direct damage to keep making progress while you move.
Separate what your build does to ordinary Tyranids from what it does to the Norn Emissary. A loadout that clears the approach comfortably still needs damage that does not depend on the boss accepting a status effect.
Choose upgrades by the problem you are experiencing: weak boss damage, gaps in crowd coverage or too little room to escape. Avoid adding more status effects solely because they helped against earlier enemies.
Upgrades that support direct damage and survival
| Upgrade | Effect and reason to choose it |
|---|---|
| Strength | Multiplies damage. Choose it to strengthen direct hits when your build is reaching the boss but taking too long to wear it down. |
| Reload | Multiplies weapon cooldowns; lower values mean more attacks. Favor shorter cooldowns when gaps between attacks leave you exposed. |
| Range and Attacks | Range increases attack size, while Attacks adds projectiles or strikes. Use them to improve coverage as you manage the boss and approaching enemies. |
| Move | Sets movement speed. Take mobility when you need more room to kite and change direction around the horde. |
| Wounds, Save and Toughness | Wounds sets maximum health, Save reduces damage from each hit and Toughness restores health over time. Choose protection or recovery when mistakes end otherwise promising attempts. |
Complete an evolution you can already assemble rather than rebuilding your loadout late in the run. The demo pairs Boltgun with Dice Cube for Heavy Bolter, and Whirlwind Battery with Liquid Green Stuff for Orbital Bombardment. Use those as recipe options, then judge your choices by direct damage and crowd coverage.
How to prepare and keep moving through the encounter
- Finish your main weapon upgrades and a reliable evolution before minute 25. Arriving with established direct damage lets you spend the encounter managing position instead of hoping a status combination will stop the boss.
- Add damage and attack frequency while keeping a defensive or recovery option. Strength and shorter Reload cooldowns support damage output; protection helps you recover from a positioning mistake.
- Move toward open ground before the boss arrives. Give yourself room to change direction without immediately crossing a dense pack of enemies.
- Kite in broad sideways arcs while keeping the boss inside your attack coverage. Adjust your route when it starts carrying you toward a crowded edge.
- Reposition to clear approaching Tyranids whenever they begin closing your exit. Reopen a route before returning your attention to sustained boss damage.
- Keep a safe exit available while you continue attacking. Let movement protect your damage uptime instead of stopping in place for a risky finish.
Use the earlier Tyranid encounters to finish your build
Imperial Bastion gives you earlier bosses and chests before the endpoint. The Hive Tyrant appears at minute 21, followed by a Winged Tyranid Prime at minute 23, before the Norn Emissary arrives at minute 25. Use the lead-up to assess whether you can damage priority targets without losing control of your route.
Synapse creatures make nearby Termagants and Hormagaunts faster and more damaging through Berserk. Destroying a Synapse source briefly stuns nearby lesser bioforms, giving you a chance to reposition. Take that opening when preparing for the next threat.
Von Ryan's Leapers can rear up and pounce over other enemies. Watch their wind-up even when ordinary Tyranids seem to leave a comfortable gap; the creatures between you and a Leaper do not prevent its leap.
Imperial Bastion and The Great Parch have different endpoints
| October-demo stage | Endpoint and preparation |
|---|---|
| Imperial Bastion | Norn Emissary at minute 25, with 27,000 HP. Prepare direct damage because it resists the status effects inflicted by demo weapons. |
| The Great Parch | Vizzik Skour, Prophet of the Horned Rat, at minute 25, with 10,000 HP. Prepare for Skaven swarms, projectile hazards, protective bells and poison clouds on the way there. |
What changes when you attempt The Great Parch
The Great Parch's endpoint is Vizzik Skour, Prophet of the Horned Rat. Keep its Skaven run separate from the Norn Emissary route rather than carrying over the Tyranid boss's resistance rules.
Prepare for pressure before the final encounter: minute 15 combines the Plague Furnace with a minimum of 250 enemies. The stage later reaches minimums of 350 enemies at minute 22 and 450 at minute 23. Build crowd coverage before those spikes arrive.
Keep away from the toxic clouds created by Acolyte Globadiers, and reposition when Bell of Doom makes nearby Skaven Warded. Treat hazardous ground and protected crowds as reasons to change your route, preserving space as you approach the endpoint.
Use these timings and resistances for the October demo. Reassess your loadout in the full release instead of treating a demo-stage endpoint as the game's overall final boss.